A jar of homemade ghee

Eat Real Food. How to make ghee

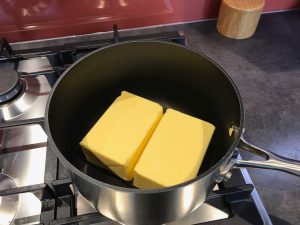
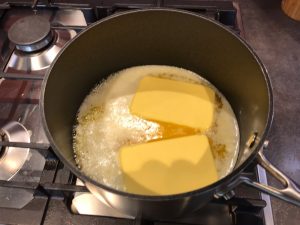
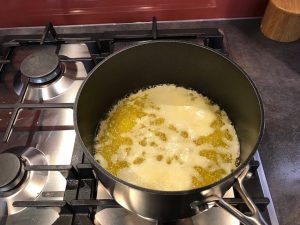
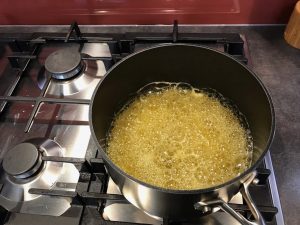
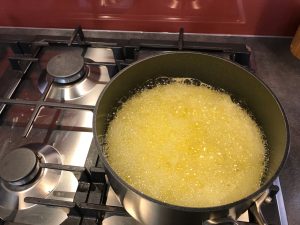
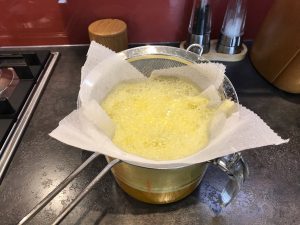
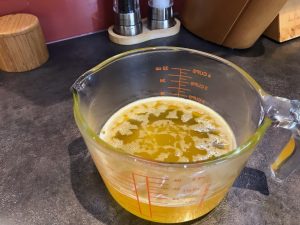
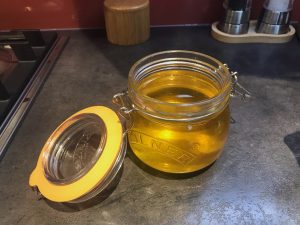
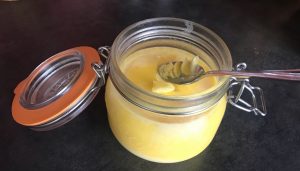
In my previous blog covering dietary fats, I sang the praises of using ghee in cooking. Ready made ghee is quite expensive to buy. Fortunately, it’s very easy to make at home and the end product is delicious and healthy to cook with. In this blog I’ll show you how to make your own in a few simple steps.

Food may be essential as fuel for the body, but good food is fuel for the soul.

Making your own ghee

All you need to make your own ghee is:

  • 2 blocks of organic, grass-fed, unsalted butter
  • a saucepan
  • a glass pouring jug
  • a muslin cloth and sieve
  • a Kilner jar to store it

1. Put your blocks of butter into a saucepan and set to a medium-high heat. I used to cut the butter into cubes, but laziness got the better of me and I found that heating the whole blocks worked just as well.

Two blocks of unsalted butter in a saucepan
Unsalted butter in a saucepan
Muslin cloth lining a sieve over a glass jug.
Muslin cloth and sieve over a glass jug

2. In the meantime, cut a square of muslin cloth and place it inside a metal sieve over your glass pouring jug.

3. When the butter has melted and starts to bubble it will go through a number of stages before it is ready. The whole heating process takes about 15 minutes, depending on your heat setting, but I don’t use a timer: I just watch the changes in the bubbles.

Melting blocks of butter in pan
Melt the butter over a medium-high heat
Separation of milk solids from the fat
The milk solids separate and float to the top

4. In the first stage you can see the milk solids float to the top of the liquid. These eventually sink to the bottom of the pan and you are just left with the bubbles.

5. After a while, the bubbles start to get quite big. This is an indication that the ghee is almost ready.

Bubbles getting bigger in size
Watch for the bubbles getting bigger
Foaming butter
Big bubbles give way to rapidly rising foam

6. Soon the big bubbles give way to a foam which will quickly rise in the pan and threaten to overspill. Be ready to turn off the heat quickly at this point. The ghee is now done.

7. With the heat off, the foam will settle down. Now you can pour this into your jug through the muslin cloth and sieve.

Filtering ghee through a muslin cloth and sieve
Filter the ghee through muslin cloth and sieve
Cooling ghee in a glass jug
Let the ghee cool before pouring into a jar

8. Wait for the ghee to cool down before pouring into your Kilner jar, as you don’t want the jar to crack.

9. When the ghee has cooled, but not solidified, pour this into your jar and pop it into the fridge.

Ghee in a glass jar
Place the ghee into your fridge
A jar of homemade ghee
Homemade ghee. Delicious and ready to use.

10. Your ghee is now ready to use. All the milk solids have been separated and you are left with a solid fat with a slightly nutty taste. It’s delicious and great for cooking with, as it does not easily burn. I cook with it all the time alongside coconut and avocado oils.

Share This Post

Copyright © 2023 Simon Lawton Kinesiology

Website by Simon Lawton.

This website uses cookies to improve the user experience. By using this website, you consent to all cookies in accordance with the privacy policy.